So after completing steps 1 to 6 we find ourselves here at step 7b. That is of course, if you opted to make lined curtains.
If your here and you haven’t completed the previous steps, click HERE to start at the beginning 🙂
Ok… for the rest of us, let’s get on with making lined curtains.
Sorting out the lining fabric to make lined curtains
Obviously, since we are about to make lined curtains, we need to prepare the lining fabric. This is almost like making unlined curtains but without the side hems and header tape. Now, with that in mind, and to save me having to rewrite the processes covered previously, simply follow steps 4, 5 and 6. This time though, you’ll be working with your lining fabric.
WAIT!!!… Just before you rush off to get started on that, there is one important difference.
For our example, I decided to make lined curtains that are 182cm(72″) wide and have prepared the face / curtain fabric accordingly. Remember in step 4 we added the extra 4″ for side hems and 2″ for joining?
Well this time, with the lining fabric, you only need to add a total of 3″. So we need the 72″, +2″ for joining the lining together and +1″ to join lining to the face fabric. That’s a total width of 75″. So the extra lining needed to make up the correct width in this case is 75″ – 54″ = 21″. Oh… and when sewing the lining together, stitch 1″ in from the edge.
Ok… you can carry on now. Once your lining is joined and hemmed along the bottom, we can join it to the face fabric.
Joining the lining and face fabric to make lined curtains
With your lining fabric prepared, we will just do a quick check.
- First measure the total width of your face / curtain fabric. For our example curtains the measurement is 76″
- Then measure the total width of your lining fabric. Again, for our example curtains the measurement is 73″.
If every thing has gone according to plan, your lining should be approximately 3″ narrower than your face fabric. If not, don’t panic just read on 🙂
- No my lining is less than 3″ narrower – Not to worry, just trim a strip off of one edge so that it is 3″ narrower.
- No my lining is more than 3″ narrower – Is it… really?, well in that case you best unpick everything and start again…

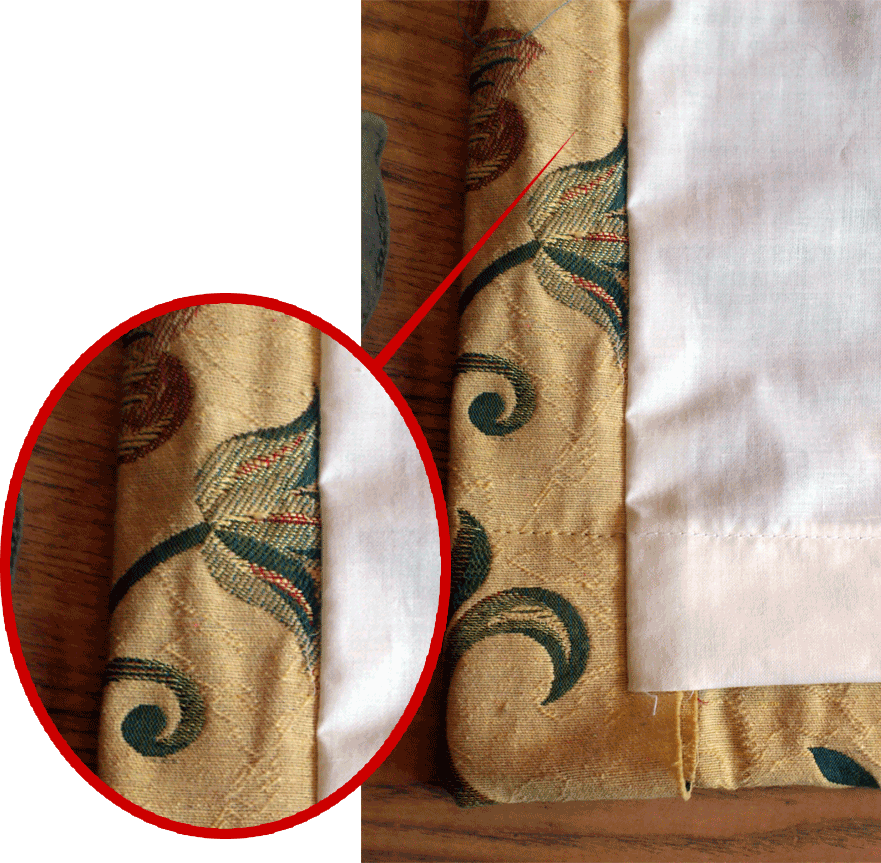
NO Don’t… I was only joking 🙂 – providing its not too much narrower it won’t make that much of a difference. It just means that the return edge of your face fabric is a little wider than the 1.5″ we were aiming for. See pic…
Right, with that little check out of the way, it’s time to actually stitch the lining to the face fabric. Here’s what we are going to do…
Taking one piece of your face curtain fabric, lay it face up on your flat surface. Now on top of that, lay one of your linings with the face down. (In other words, so that its kind of like an inside out curtain.) Be sure to have both the bottom hems at the same end.
Now, starting at the end with the hems, align the edges making sure to position the hem of the lining 2″ higher than the hem of the curtain fabric. Don’t forget to pin as you go.

Next you can either stitch along that side, about half an inch in from the edge would be good. Or you can do the same again to the other side and then sew them both.
A quick tip for when you make lined curtains
From my experience, some times the fabric can stretch a little as you sew. When you sew along the sides, start at the end with the hems. This way, if the fabric does stretch, there will still be a 2″ difference between the hems at the bottom.
We’re almost done with this step!
At this stage, you should have an inside out almost curtain. Let’s turn it in the right way… Done that… great!
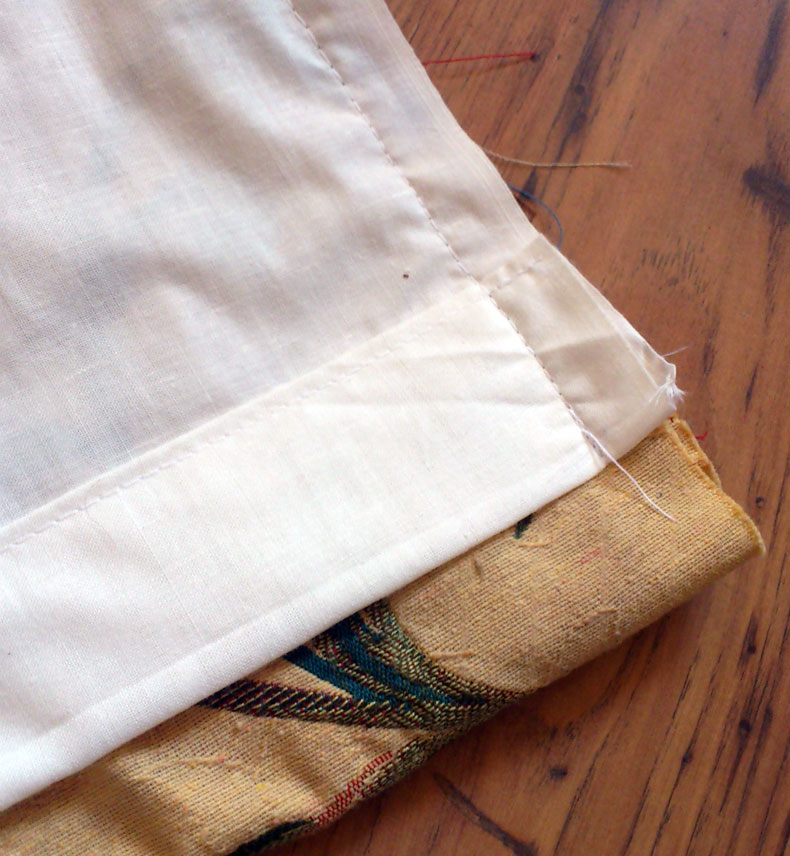
Now with your almost curtain laid face down on your flat surface, center the lining so that you have your 1.5″ return running down each side. Also ensure that the hem of the lining is roughly 2″ higher than the hem of the face curtain fabric along the bottom. Once every thing is aligned, I find it helpful place a few pins along the side and bottom to hold things in place.
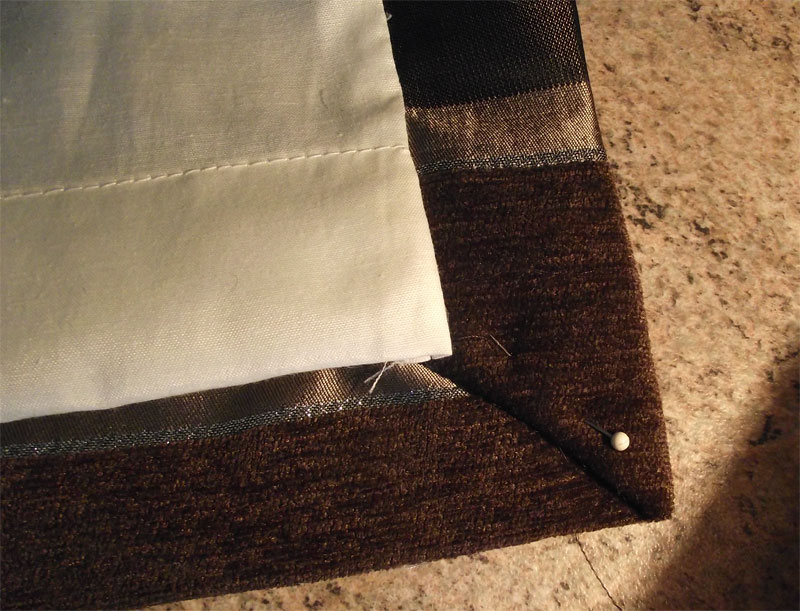
Next, we need to tuck in the two bottom corners of the return fabric and give them a quick stitch.

Yes… I know… that’s not the same curtain as the other photos. I’m afraid I got carried away and for got to take the photo when I worked on the other ones. 🙂
Anyway… Once your tucked and stitched the bottom corners, you can put that almost curtain to one side and do that all again to make your other one.
Next – Step 8: The Final step – adding curtain tape.

Thank you so much. This has been really helpful.